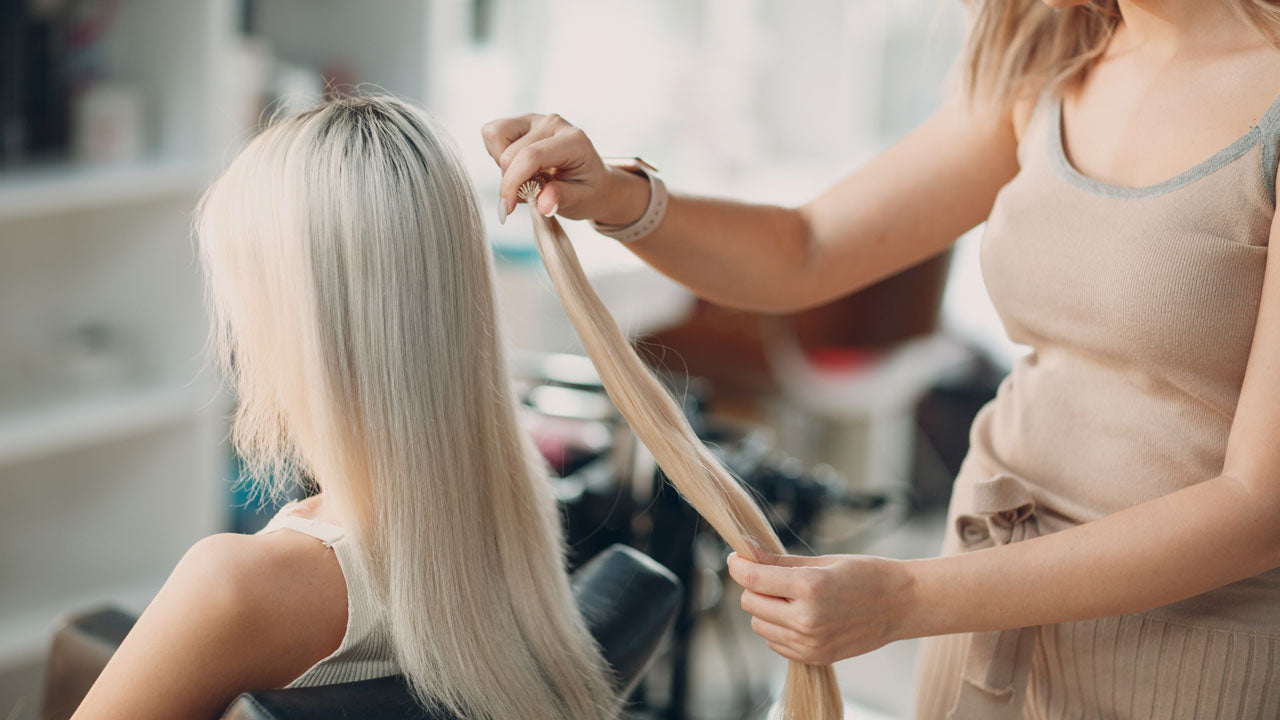

For flawless, natural-looking extensions that add volume, depth and texture, achieving a seamless blend with your client’s natural hair is crucial — and this is usually done by cutting and blending the extensions to match the length and layers of existing hair.
Interested to learn more? In this blog, we’ll provide a step-by-step guide to help you expertly cut extensions to blend with hair, so your clients can leave your salon with newfound confidence and luscious locks that effortlessly frame their favourite features.
Steps to take before you begin snipping:
- Step 1 — Preparation
Start by ensuring that both your client’s natural hair and the extensions you’ve installed are dry, clean and free from tangles. This will assist with the cutting process, making it smoother and more accurate.
- Step 2 — Sectioning
Section the client's natural hair, creating a top and two side sections. Clip the hair out of the way, so you can prep each area before you make your way through with the scissors.
- Step 3 — Positioning
Keep your client’s head up and looking straight into the mirror — this ensures the hair naturally lays in its correct position.
- Step 4 — Grab your tools
Ensure you have scissors on hand that are specifically designed for professionals cutting hair.
Techniques to help you cut extensions to blend with hair
- Technique #1 — Slicing
Perfect for adding shape to the front sections of your client’s hair for a tapered, layered look, the slicing technique is one of the most efficient ways to cut extensions so they blend with hair.
To begin, isolate the short layers of your client’s natural hair. Holding the section of hair between your fingertips, take your scissors and slide and slice in a slow, diagonal motion. Ensure the blades remain open throughout and continue this process until you’ve reached your desired results.
- Technique #2 — Point cutting
One of the latest techniques to take the hair industry by storm, point cutting feathers at the ends of the hair to remove any blunt or sharp lines. It involves cutting the hair at different angles or points rather than cutting them straight across. By using this technique, you can create softness and remove bulk from the hair, resulting in a more layered and textured look that frames the face. This technique is often used for layered, long bobs and textured pixie cuts.
- Technique #3 — Slithering
Much like slicing, this technique removes excess bulk by cutting into the extensions and natural hair at an angle, creating textured layers that seamlessly blend the two. After dividing the hair, hold a small section of the natural hair and the extensions between your fingers. Use your scissors to cut into the section at an angle, making small, quick and gentle slicing motions.
This technique removes blunt lines and obvious distinctions between the extensions and natural locks. It’s worth noting that this method is relatively difficult to master, so it should always be left to a professional hairdresser who knows how to cut extensions so they blend with natural hair.
- Technique #4 — Blunt cutting
Ideal for removing any wispy or uneven ends, this snipping method is perfect once you’ve feathered and layered the hair. To blunt cut, use a comb to pull all the hair in front. Using your fingers as a guide, slide your hand down the hair and stop at where you want to start trimming. Cut straight across to create a blunt cut, or use the point-cutting technique for a more layered, textured look.
- Technique #5 — Texturing
If your client’s hair already has texture or layers, you may need to texturise the extensions to match. Take a thin, vertical section of the extension and use thinning scissors to remove bulk and create texture. Avoid snipping through too much hair, as this can make the extensions look sparse and appear more noticeable.
- Technique #6 — Refining and blending
Once you have completed the initial cut, release the clipped sections of your client's natural hair and comb through to blend them with the extensions. Check for any visible lines or unevenness and refine the cut as needed to achieve a seamless transition between the natural hair and extensions. Use a texturising razor or blending shears, if necessary, to further blend the layers and create a cohesive look.
Styling and final touches
Once you’ve completed one or more of the above techniques, you can use heat tools to style your client’s hair and add volume, texture and thickness. Don’t forget to use a mirror to inspect the blend from different angles and make any additional adjustments to cut the extensions to blend better with their hair.
Create the perfect looks with Showpony’s Remy A+ human-grade hair extensions
With a long-standing reputation for supplying ethically sourced, high-quality Remy A+ wholesale hair extensions, Showpony is proud to stock the shelves of hundreds of leading salons nationwide.
Now you’ve learnt the right techniques for trimming extensions so they blend seamlessly with your client’s natural locks, explore our range of skin weft, micro bead, tape in and weft hair extensions to find the best products available on the market.
Alternatively, explore our wholesale range and sign up to become an official Showpony stockist. Got a question about our products or need help cutting extensions to blend with hair? Learn more by booking an educational consultation with our team online today. You’re also welcome to contact our team at admin@showponyaus.com.au or call 1800 233 386.